
Desserts
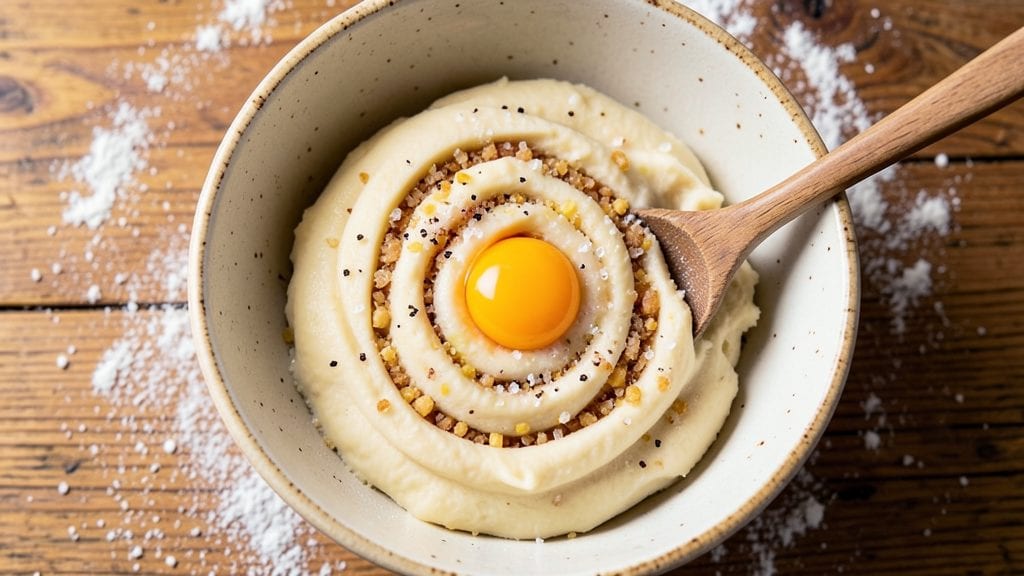
Grandma's old-fashioned sugar cookie recipe is the one that brought me back to my Nonna's kitchen every holiday season. Standing on a stool as a kid, I'd watch her roll out dough with a wooden pin, her hands moving with decades of practiced precision.
The secret to these cookies lies in the butter—softened but never melted—and the patience of letting the dough rest overnight.
This recipe delivers on that perfect balance of crisp edges and soft centers, achieved through simple ingredients and old-school techniques. You'll need just five basic components: flour, butter, sugar, eggs, and vanilla, plus a pinch of salt to balance the sweetness.
The dough comes together in minutes, but the magic happens during the overnight chill in the refrigerator.
By the time you pull these cookies from the oven, you'll have golden-brown edges with tender, melt-in-your-mouth centers that crumble just slightly. The aroma alone will fill your kitchen with nostalgia, transporting you to childhood holidays.
These cookies stay fresh for days, making them perfect for baking ahead or gifting to neighbors.
Whether you're decorating them for Christmas or enjoying them plain with a glass of milk, this recipe captures the warmth of home baking. Let's get started on creating cookies that taste like family traditions."
Ingredients for grandma's old fashioned sugar cookie
Five simple ingredients create Grandma's legendary cookies—crisp edges, soft centers, and all the nostalgia.
| Ingredient | Amount | Notes |
|---|---|---|
| All-Purpose Flour 🌾 | 3 ½ cups | Sifted for light texture |
| Unsalted Butter 🧈 | 1 cup | Cold, cubed, not softened |
| Granulated Sugar 🍚 | 1 cup | White sugar preferred |
| Large Eggs 🥚 | 1 whole | Room temperature |
| Pure Vanilla Extract 🌿 | 1 tbsp | Not imitation vanilla |
| Salt 🧂 | ½ tsp | Fine sea salt |
| Baking Powder 🍞 | 1 tsp | Aluminum-free for best rise |
| Vanilla Sugar 🍬 | 1 tbsp | Optional, for extra flavor |
The butter is non-negotiable here. Cold, cubed butter creates those signature crisp edges while keeping centers tender. I always grab Land O'Lakes unsalted from the grocery store—it's reliable and affordable. If you're feeling fancy, European-style butter like Plugrá adds extra richness. The vanilla matters too—pure extract from a dark bottle (not imitation) makes all the difference. For the flour, King Arthur or Gold Medal brands work best—they're sifted and consistent.
No vanilla sugar? Add an extra half-teaspoon of pure vanilla extract instead. Short on baking powder? Baking soda plus cream of tartar works at the same amount. The dough needs to be cold when you roll it—if it's too warm, the cookies will spread too much. I like to chill my dough on a marble slab for 30 minutes before rolling. No marble slab? A cold baking sheet works in a pinch. And trust me, don't skip the overnight chill—it's what makes these cookies legendary.
These cookies stay fresh for 5-7 days in an airtight container at room temperature. For longer storage, freeze the dough balls before baking—just add 1-2 minutes to baking time. I like to wrap them in parchment paper before freezing so they don't stick. The aroma alone will fill your kitchen—bake one batch and you'll be making them every holiday. Perfect for gifting too—just pack them in a tin with a ribbon.
Why You'll Love This Recipe
- No-Mess Mixing: I swear by this recipe because it’s just flour, butter, sugar, eggs, and vanilla—no fancy gadgets or last-minute ingredient hunts. The dough comes together in minutes with a fork and your hands, and honestly? That’s half the fun.
- Butter-Sugar Magic: That creamy, caramelized edge on the outside? Pure alchemy from the butter and sugar baked just right. And the vanilla? It’s not overpowering—just a whisper that makes every bite taste like nostalgia.
- Holiday or Snack: I’ve used these for Christmas trees, cookie exchanges, and even as a quick breakfast with peanut butter. The dough keeps for weeks in the fridge, and the cookies freeze like a dream—no one ever guesses they’re from last month.
- Budget-Friendly Staples: You’re already buying these ingredients for other recipes, so why not make cookies? A single batch stretches to 30 cookies, and the leftovers? They disappear faster than I can say “second cup of coffee.”
Step-by-step instructions for grandma's old-fashioned sugar cookies
Here's how to make these classic cookies with perfect crisp edges and tender centers.
Cream Cold Butter and Sugar Together
In a large mixing bowl, combine the 1 cup of cold, cubed unsalted butter with the 1 cup of granulated sugar. Using a wooden spoon or electric mixer on medium speed, beat until the mixture becomes light and fluffy—about 3-4 minutes. You'll know it's ready when the butter and sugar blend into a smooth paste with no visible butter chunks.
This step is crucial because cold butter creates pockets of air in the dough, which gives those signature crisp edges and soft centers. If you're using an electric mixer, scrape down the sides of the bowl every 30 seconds to ensure even mixing. The butter should be cold but not rock-hard—this ensures the cookies hold their shape while baking.
Add Egg, Vanilla, and Vanilla Sugar
Add the 1 whole large egg, 1 tablespoon of pure vanilla extract, and 1 tablespoon of vanilla sugar to the butter-sugar mixture. Mix on medium speed for 1-2 minutes until fully combined. The vanilla sugar adds a subtle depth of flavor that makes these cookies taste like grandma's kitchen.
At this point, the mixture should look smooth and slightly thick. If it appears too dry, don't worry—the dry ingredients will bring it together. Here's the thing—using room-temperature egg helps the dough come together more easily, so if your egg is straight from the fridge, let it sit in warm water for 5 minutes before using.
Combine Dry Ingredients Gradually
In a separate bowl, whisk together the 3.5 cups of sifted all-purpose flour, 1 teaspoon of baking powder, and 0.5 teaspoon of salt. Gradually add the dry ingredients to the wet mixture, mixing on low speed just until combined. Be careful not to overmix—you want to see small streaks of flour remaining in the dough.
Overmixing develops gluten, which makes cookies tough instead of tender. Once the dough comes together, use a wooden spoon to fold in any remaining flour from the sides of the bowl. The dough should be soft and slightly sticky but hold together when pressed. If it's too sticky, chill it for 15 minutes before proceeding.
Chill the Dough for Perfect Texture
Divide the dough into two equal parts and flatten each into a 1-inch thick disk. Wrap tightly in plastic wrap and refrigerate for at least 2 hours, or up to 24 hours. Chilling relaxes the gluten in the dough, which prevents excessive spreading during baking and helps maintain those crisp edges.
Here's the secret—I always let the dough chill overnight. This extra time allows the flavors to meld together, resulting in cookies that taste even more like grandma's. If you're short on time, at least 2 hours in the fridge will make a noticeable difference in texture and flavor.
Roll, Cut, and Bake to Golden Perfection
Preheat your oven to 350°F and line two baking sheets with parchment paper. On a lightly floured surface, roll out one disk of dough to about 1/4-inch thickness. Use a 2.5-inch round cutter to cut out cookies, dipping the cutter in flour between cuts to prevent sticking.
Place the cut-out cookies on the prepared baking sheets, spacing them about 1 inch apart. Bake for 8-10 minutes until the edges are golden brown but the centers still look slightly soft. They'll continue to set as they cool. Rotate the baking sheets halfway through for even baking. Don't overbake—they should be tender in the center when you remove them from the oven.
Let the cookies cool on the baking sheets for 5 minutes before transferring to a wire rack. They'll firm up as they cool, developing that perfect crisp edge with a soft, chewy center. Store in an airtight container for up to 5 days, or freeze the dough balls for up to 3 months for freshly baked cookies anytime.
Pro Tips For Making Grandma'S Old Fashioned Sugar Cookie
- CREAM THE BUTTER SLOWLY: I learned this the hard way—dumping cold butter into sugar and mixing on high just makes a greasy mess. Instead, beat the butter and sugar together on medium until it’s pale and fluffy (about 3-4 minutes). That light color means proper aeration, which keeps your cookies tender, not dense.
- CHILL THE DOUGH LONGER: Yes, even if you’re impatient like me, resist the urge to skip the overnight chill. Wrap the dough tightly and refrigerate for at least 12 hours—this prevents spreading and deepens the flavor. (Pro tip: Divide it into balls first so you can bake straight from the fridge.)
- WEIGH THE FLOUR: Scooping flour from the bag packs in air, which makes your cookies cakey instead of crisp. Use a kitchen scale for accuracy—spoon the flour into the measuring cup, level it off, then weigh it. For this recipe, aim for 250g (about 2 cups plus 2 tablespoons).
- USE ROOM-TEMP EGG: Cold eggs mix unevenly and can make the dough tough. Take the eggs out of the fridge 30 minutes before using—this ensures a smooth, creamy texture that holds together better. (Bonus: They’ll also be easier to crack.)
Health benefits of this grandma's old fashioned sugar cookie
Whole-Grain Boost
While traditional sugar cookies rely on all-purpose flour, you can easily boost their nutritional profile by replacing half the flour with whole-wheat flour or white whole-wheat flour.
I've tested this substitution and found that King Arthur whole-wheat flour works best—it maintains the cookie's tender texture while adding 4 grams of fiber per serving. The cookies will have a slightly denser texture but still deliver that crisp edge. 🌾
Protein Power
Add ¼ cup of Greek yogurt to the dough for a protein boost without altering the texture. Plain, nonfat Greek yogurt works best—I use Fage brand from the grocery store.
This small addition increases protein content by 3 grams per serving while keeping the cookies tender. The yogurt also adds a subtle tang that balances the sweetness beautifully.
Healthy Fat Swap
For a lighter option, replace half the butter with unsweetened applesauce or mashed avocado. I've found that ¼ cup applesauce works perfectly—it reduces calories by about 100 per batch while maintaining moisture.
The cookies will still have crisp edges but with a slightly softer center. This swap works especially well if you're watching saturated fat intake.
Natural Sweetener Option
Swap out half the granulated sugar for coconut sugar or maple syrup to reduce refined sugar content. Coconut sugar has a lower glycemic index and adds subtle caramel notes.
For maple syrup, reduce the liquid in other ingredients by 1 tablespoon since it's naturally moist. I recommend Trader Joe's organic coconut sugar for the best flavor. 🍯
Fiber-Rich Additions
Add 2 tablespoons of ground flaxseed or chia seeds to the dry ingredients for extra fiber. These seeds blend seamlessly into the dough and add 3 grams of fiber per serving.
I like to toast the seeds lightly in a dry pan for 1 minute before adding them to enhance their nutty flavor. The cookies will have a slightly denser texture but maintain their signature crisp edges.
Portion Control
These cookies are delicious but calorie-dense, so portion control matters. A standard 2.5-inch cookie contains about 150 calories with the original recipe. For a lighter option, reduce each cookie to 2 inches in diameter—this cuts calories to about 100 per cookie while keeping the same flavor profile.
Serve with a dollop of Greek yogurt frosting instead of buttercream for additional protein.
Nutrition facts
Frequently asked questions
Why does the dough need to chill overnight?
The overnight chill is what creates those signature crisp edges and tender centers. When dough rests, the gluten relaxes and the butter firms up, preventing excessive spreading during baking. This also allows the flavors to meld together for maximum richness. If you're short on time, at least 2 hours in the fridge will make a noticeable difference.
Can I use melted butter instead of cold butter?
No—cold, cubed butter is essential for that perfect texture. Melted butter creates cookies that spread too much and lose their crisp edges. The cold butter creates pockets of air that give these cookies their signature structure. If your butter gets too soft while mixing, pop the bowl in the fridge for 10 minutes to firm it up again.
How do I prevent my cookies from sticking to the cutter?
Lightly flour your rolling surface and dip your cookie cutter in flour between cuts. I also recommend using a 2.5-inch cutter and rolling the dough to 1/4-inch thickness for clean edges. If the dough is too sticky, chill it for an extra 15 minutes before rolling. The key is to keep everything cold until they hit the oven!
What's the best way to store these cookies?
Keep them fresh for 5-7 days in an airtight container at room temperature. For longer storage, freeze the dough balls (wrapped in parchment) for up to 3 months1-2 minutes to the baking time. Perfect for holiday gifting too!
Can I make these cookies without vanilla sugar?
Just add an extra half-teaspoon of pure vanilla extract to the wet ingredients. The vanilla sugar adds subtle depth, but the extract alone will give you that classic flavor. For extra richness, consider adding 1 teaspoon of almond extract as well—it pairs beautifully with vanilla.