Desserts
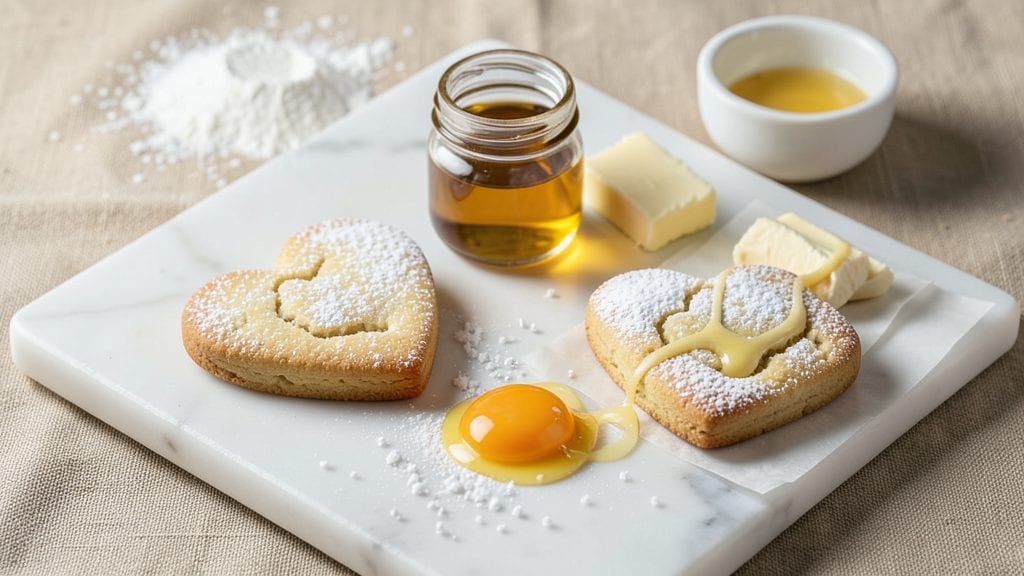
This heart cookies recipe is the perfect way to turn your kitchen into a Valentine’s Day love factory—because nothing says "I care" like homemade cookies shaped like tiny, edible hearts. 💛 I’ve tested countless versions, and this one delivers crisp edges, soft centers, and that buttery flavor that makes them impossible to resist.
The secret? A foolproof dough recipe that bakes evenly and holds its shape, so you don’t end up with sad, misshapen cookies.
What makes these cookies special is how versatile they are—whether you’re going for classic sugar cookies, rich shortbread, or even a gluten-free twist, the technique stays the same.
You’ll need just a few simple ingredients (flour, butter, sugar, and a pinch of love, okay, maybe not the last one), and the process is straightforward: mix, roll, cut, and bake. The best part?
They’re ready in about 12 minutes, giving you time to decorate them with icing, sprinkles, or even a dusting of powdered sugar for that festive touch.
Imagine the scene: warm, golden hearts cooling on a rack, their edges just crisp enough to hold up to a bite, while the centers stay soft and tender. The aroma fills your kitchen, and every bite tastes like love—sweet, buttery, and packed with holiday cheer.
These cookies aren’t just for Valentine’s Day; they’re the kind of treat that makes any occasion feel special, whether you’re gifting them to someone you adore or keeping them for yourself.
Pair them with a warm cup of coffee or a cold glass of milk, and you’ve got the ultimate cozy combo. Ready to make some love in the kitchen? Let’s get baking—your heart (and your taste buds) will thank you.
Ingredients for heart cookies
Buttery, sweet, and shaped like love—just flour, sugar, and a pinch of magic.
| Ingredient | Amount | Notes |
|---|---|---|
| All-Purpose Flour 🌾 | 2 ½ cups | Sifted for light texture |
| Unsalted Butter 🧈 | 1 cup | Cold, cubed for even mixing |
| Granulated Sugar 🍚 | 1 cup | White or light brown |
| Powdered Sugar 🍚 | ½ cup | For icing (optional) |
| Large Eggs 🥚 | 2 whole | Room temperature preferred |
| Vanilla Extract 💧 | 1 tsp | Pure, not imitation |
| Baking Powder 🧂 | 1 tsp | Freshly opened |
| Salt 🧂 | ½ tsp | Fine sea salt |
| Red Food Coloring 🎨 | ¼ tsp | Gel for better control |
| Pink Food Coloring 🎨 | ¼ tsp | Gel for better control |
| Heart Cookie Cutter ❤️ | 1 piece | Metal preferred for sharp edges |
| Granulated Sugar 🍚 | ½ cup | For sprinkling (optional) |
The butter is non-negotiable here. Crisco or shortening works in a pinch, but unsalted butter gives that signature rich flavor. Grab the European-style butter from Whole Foods or Trader Joe's if you want extra richness—it's worth the splurge for these cookies. The flour? King Arthur or Gold Medal are my go-tos because they're reliable, but any all-purpose will work. If you're baking in a dry climate, add an extra tablespoon of water to the dough—it makes all the difference for that perfect texture. And don't skip sifting the flour! That's how you get those crisp edges everyone loves.
No vanilla extract? Vanilla bean paste works perfectly, or even a scraped vanilla bean if you've got one. Short on baking powder? Baking soda plus cream of tartar at half the amount is a solid swap. The food coloring can be tricky—gel works best because liquid colors can make your dough too wet. If you don't have red or pink, mix yellow and blue for a custom shade. For the cookie cutter, Wilton or Oxo makes the best metal ones—plastic ones can warp and ruin your heart shapes. Pro tip: Chill your dough for 30 minutes before cutting for cleaner edges.
These cookies keep for 5 days in an airtight container, but honestly? They disappear faster than that. Store them at room temperature if you're using them within a few days, or freeze the shaped dough balls for up to 3 months. I like to portion the dough into 1-inch balls before baking—just roll them in sugar if you're feeling fancy. The icing (if you make it) sets best after 1 hour of cooling, so plan ahead if you're gifting these. Trust me, the waiting is worth it for that perfect finish.
Why You'll Love This Recipe
- No Fuss Mixing: I swear by this dough—just cream butter and sugar, toss in eggs, and fold in flour. No food processor, no waiting for dough to rest. My kids "help" dump the flour in, and we’re rolling by 10:30 AM.
- Buttery Sweet Magic: That first bite? Pure comfort. The butter and sugar combo isn’t just sweet—it’s rich, with a tender crumb that melts in your mouth. The powdered sugar dusting? The cherry on top (literally, if you add jam).
- Holiday or Snack: Shape them into hearts for Valentine’s Day, cut squares for a quick breakfast, or pack extras in lunchboxes. Honestly, they’re just as good cold as they are fresh out of the oven—no rules, no stress.
- Pantry Staples Only: Flour, butter, sugar, eggs—what’s not to love? I’ve made these with store-brand ingredients, and they’re still the best cookies in the jar. Plus, they keep for days, so you’re never stuck scrambling for dessert.
Step-by-step instructions for heart cookies recipe
Here's how to create these adorable heart-shaped cookies that'll melt hearts (and taste buds!) every Valentine's Day.
👨🍳 Step 1: Mix Dry Ingredients to a Cloud-Like Texture
In a medium bowl, whisk together the 2.5 cups all-purpose flour, 1 tsp baking powder, and 0.5 tsp salt. Sift the mixture through a fine-mesh sieve directly into a large mixing bowl - this aerates the flour and prevents dense cookies. Give it a quick stir with a whisk to break up any lumps.
The reason we sift is to create those perfect, light cookies you see in bakery displays. If you notice any flour clumps after sifting, just press them through with your fingers. This step ensures your cookies will be tender with just the right crumb.
🍳 Step 2: Cream Butter and Sugar Until Fluffy
In a separate large bowl, combine the 1 cup unsalted butter (cold, cubed) and 1 cup granulated sugar. Using a hand mixer or stand mixer fitted with the paddle attachment, beat on medium speed for 3-4 minutes until the mixture is light, fluffy, and nearly doubles in volume. You're looking for a pale, creamy texture that leaves faint ribbons when the beaters are lifted.
This creaming process incorporates air, which creates those beautiful crackly tops and gives your cookies that perfect chewy texture. Don't rush this step - under-creaming leads to dense cookies. The butter should be completely smooth with no visible chunks by the end.
👨🍳 Step 3: Add Eggs and Vanilla for Perfect Binding
Add the 2 whole large eggs one at a time, mixing well after each addition until fully incorporated. Scrape down the sides of the bowl with a spatula to ensure even mixing. Then add the 1 tsp vanilla extract and mix for another 30 seconds until fully combined.
Here's where it gets fun - the eggs and vanilla work together to bind everything while adding that classic vanilla flavor. You'll notice the mixture becomes smoother and more cohesive. This is the moment when all your ingredients start coming together into a beautiful dough.
🍳 Step 4: Combine Wet and Dry Ingredients
Gradually add the dry ingredient mixture to the butter-sugar mixture, mixing on low speed just until combined. Be careful not to overmix - you want to see just a few flour streaks remaining. Stop mixing as soon as the dough comes together.
Now for the coloring magic! Divide the dough in half. To one portion, add 0.25 tsp red food coloring and mix until evenly distributed. To the other portion, add 0.25 tsp pink food coloring and mix similarly. The gel food coloring will give you vibrant colors without altering the texture.
⏰ Step 5: Chill, Shape, and Bake to Perfection
Wrap each colored dough portion in plastic wrap and refrigerate for at least 1 hour (or up to 24 hours). This chilling step is crucial - it firms up the dough so it holds its shape when you cut out the hearts. Preheat your oven to 350°F while the dough chills.
On a lightly floured surface, roll out each dough portion to about ¼-inch thickness. Use the heart cookie cutter to cut out shapes, gently re-rolling the scraps to make more cookies. Place cookies 2 inches apart on ungreased baking sheets. Bake for 8-10 minutes until edges are just golden. Let cool on the baking sheet for 5 minutes before transferring to a wire rack.
🍰 Step 6: Optional Icing for Extra Sweetness (Optional)
For that perfect Valentine's touch, whisk together 0.5 cup powdered sugar and 1-2 tablespoons milk until smooth. Add a drop of red or pink food coloring if you want to match your cookies. Dip the tops of cooled cookies in the icing or pipe decorative swirls using a small piping bag.
Sprinkle with the 0.5 cup granulated sugar immediately after icing for a beautiful crunchy finish. Let the icing set for 10 minutes before serving or storing. These cookies are perfect for gifting or sharing - each one is a little love note in edible form!
Pro Tips For Making Heart Cookies
- CREAM THE BUTTER SLOWLY: I learned this the hard way—dumping cold butter into sugar and hoping for the best just gives you a lumpy mess. Let the butter sit at room temp for 30 minutes first, then mix it with the sugar in the stand mixer (or by hand) for 2-3 minutes before adding flour. This ensures the butter fully emulsifies with the sugar, which makes the cookies richer and prevents dryness later.
- CHILL THE DOUGH LONGER THAN YOU THINK: Skip the 30-minute "chill" you see in most recipes—this dough needs at least 2 hours in the fridge, ideally overnight. The gluten relaxes, the butter firms up, and the flavor develops deeper. I used to rush it and end up with cookies that spread too much or tasted bland. Trust me, the wait makes the difference.
- WEIGH THE FLOUR (NOT SCOOP): That "1 cup flour" in your measuring cup? It’s lying to you. Spoon the flour into the cup, level it off with a knife, and you’re still over by 10-15%. For heart cookies, precision matters—too much flour makes them dense, too little makes them greasy. Use a kitchen scale (or at least the "dip and sweep" method) for consistent results.
- STORE THE EGGS RIGHT: Crack those eggs into a bowl first, then separate them—no shells sneaking into your dough. But here’s the upgrade: let the yolks and whites sit at room temp for 10 minutes before mixing. Cold eggs can cause the butter to seize up, and the dough won’t come together smoothly. (Yes, even if you’re impatient like me.)
Troubleshooting your heart cookies
Dough Too Sticky
If your dough feels like playdough and won’t hold its shape, it’s likely too warm. Chill it for an extra 30 minutes before rolling. If that doesn’t help, add 1 tablespoon of flour at a time until it’s pliable but not crumbly.
I’ve found that King Arthur all-purpose flour absorbs moisture better than some store brands, so it might be worth the switch if you bake often. 💫
Cookies Spread Too Much
Over-spreading usually means your butter was too soft or your oven ran hot. For next time, use cold butter straight from the fridge and let it sit out for just 10 minutes before creaming.
Also, rotate your baking sheets halfway through baking to ensure even heat distribution. I use Wilton silicone baking mats to prevent sticking and maintain shape—no more sad, flat cookies!
Food Coloring Bleeding
Liquid food coloring can turn your cookies into a muddy mess. Stick with gel food coloring—it’s concentrated and won’t alter the dough’s moisture. If you already mixed liquid coloring, try adding 1 extra tablespoon of flour to absorb the excess.
For a gradient effect, pipe a thin line of white icing down the center of two cookies before baking—they’ll look like they’re melting into each other! 🎨
Hearts Losing Shape
If your heart cookies flatten during baking, your dough wasn’t chilled long enough. Pop the shaped cookies in the freezer for 15 minutes before baking to firm them up. Also, avoid overcrowding the baking sheet—leave 2 inches between cookies for proper airflow.
I’ve even seen bakers use a parchment paper heart stencil to trace shapes with a knife for extra precision.
Burnt Edges
Burnt edges mean your oven is too hot or the cookies are too close to the heating element. Lower the temperature to 340°F and place the rack in the middle of the oven. If your oven runs hot, try baking one sheet at a time.
For an even golden finish, swap out your baking sheet for a dark-colored metal pan—it heats up faster and gives a more even bake. 🔥
Dough Too Dry
Dry dough cracks when rolling and bakes unevenly. Fix it by adding 1 teaspoon of milk or water at a time until it’s just workable. If the dough still feels crumbly, let it rest for 10 minutes while you preheat the oven—sometimes it needs time to relax.
For extra insurance, wrap the dough in plastic and refrigerate for 20 minutes before rolling. This trick works like magic for shortbread dough too!
Nutrition facts
Frequently asked questions
Can I make these heart cookies without a heart-shaped cutter?
Use a round cutter and carefully cut out small triangles from the sides to create heart shapes. Alternatively, trace a heart shape onto parchment paper, cut it out, and use it as a stencil. For a rustic look, freehand with a sharp knife after rolling the dough to ¼-inch thickness.
How do I store heart cookies to keep them fresh?
Store baked cookies in an airtight container at room temperature for up to 5 days. For longer storage, freeze shaped dough balls (before baking) for 3 months or baked cookies for 2 months. Reheat baked cookies in a 300°F oven for 3-5 minutes to restore freshness.
What's the best way to make gluten-free heart cookies?
Replace the 2.5 cups all-purpose flour with a 1:1 gluten-free baking flour blend (like Bob's Red Mill). Add ½ tsp xanthan gum if your blend doesn't contain it. Chill the dough longer (2 hours) since gluten-free dough spreads more. Use a gluten-free silicone mat for even baking.
Can I make these cookies without food coloring?
Yes! Skip the coloring for classic buttery cookies. For a natural pink hue, add 1 teaspoon beet powder or 1 tablespoon raspberry jam to the dough. For white cookies, omit the coloring entirely. The recipe still works beautifully without it—focus on the perfect heart shape instead!
Why did my cookies turn out flat instead of heart-shaped?
Flat cookies usually mean the dough wasn't chilled enough or the butter was too soft. Next time, chill the dough for at least 2 hours and use cold butter (let it sit out just 5 minutes before creaming). Also, avoid overcrowding the baking sheet—leave 2 inches between cookies.